PrintNode
With the integration of PrintNode it is possible to create print jobs by clicking a single button.
Installation
This manual describes the possibilities of the PrintNode integration in the Boekuwzending environment and how you can install the integration. The basic installation of the integration is similar to other integration installations.
Starting the integration
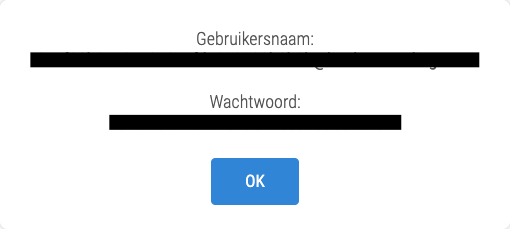
To start the ingration visit https://mijn.boekuwzending.com/integraties/ and click the Integratie Starten button next to PrintNode. After this is done the page will display an option to show the login credentials. When clicking Bekijk inloggegevens a pop-up will show displaying your username and password.
Downloading the client
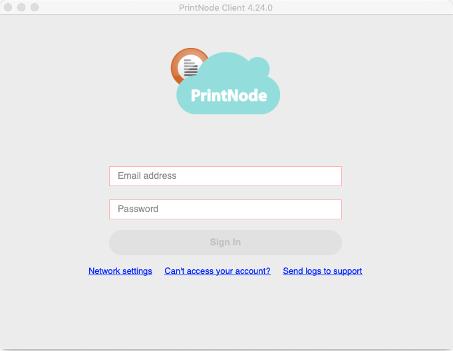
The next step is to download the PrintNode client which can be done here. Once the client has finished downloading follow the on screen instructions to install the application. Once the application is installed the following screen will be displayed. Here you should login using the provided credentials.
Adding printers to mijn.boekuwzending.com
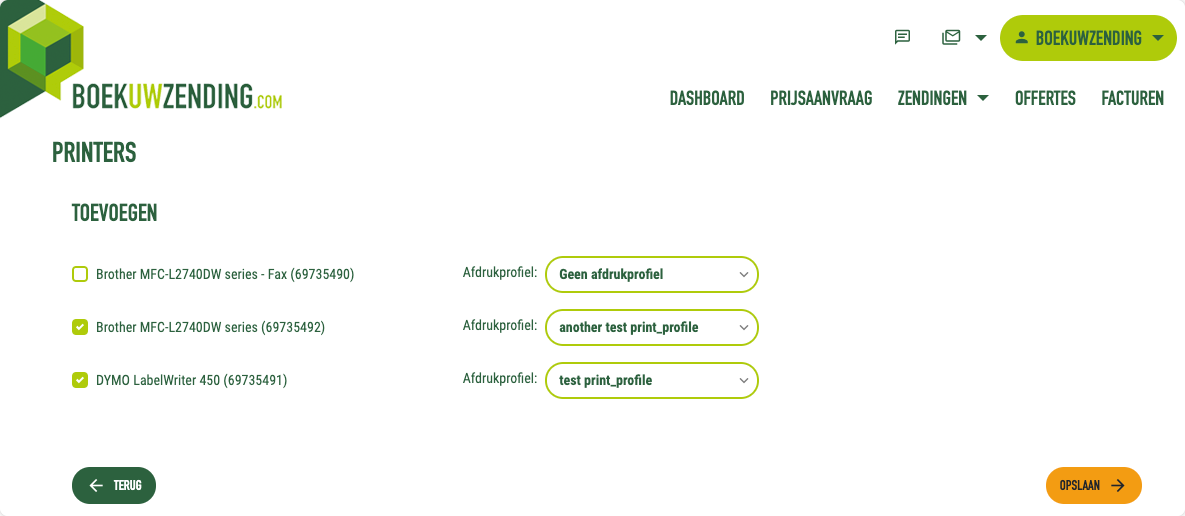
On the printer page all the created printers will be displayed. This page can be found in the top right menu where your (company) name is displayed. If the integration is completed succesfully and the credentials are available there will be an option to add printers using Printer Toevoegen.
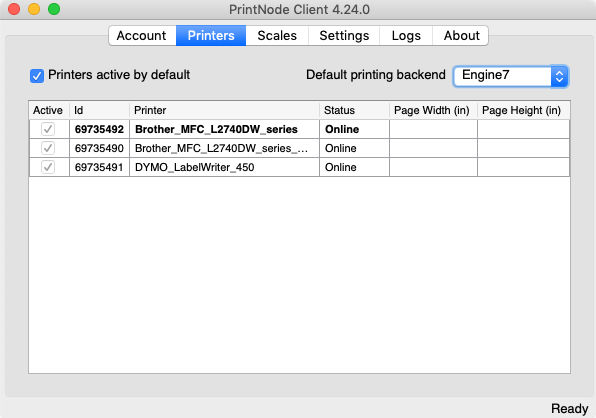
You will be directed towards a page where the available printers are displayed. These printers are retrieved from your PrintNode Client. It is important to note that only printers are shown connected to the computer(s) linked up with the PrintNode client. It is possible to select multiple printers and press 'Opslaan' to save the selection.
If desired you can also add a print profile to the printer to print using margins and choose the amount of label(s) per page, however this is not required.
Printer options
When viewing the printer page all printers are displayed with icons at the end of the row.
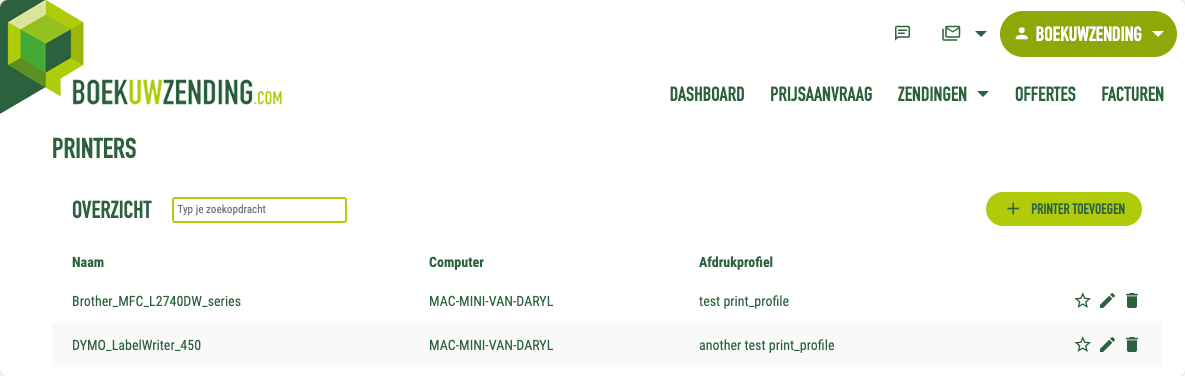
Marking as default
To mark a printer as default you simply click the star icon. Once the printer is marked as default it can be unmarked by clicking the star icon again.
Only one printer can be marked as default at the same time. When selecting another printer as default the currently default selected printer will be unmarked as default.
Remove a printer
To delete a printer the trashbin icon can be clicked after which a confirmation pop-up will appear. Upon confirming the deletion of the selected printer the printer will be deleted. This can not be undune, however the printer could be added again using the steps in
Printing
When everything is set-up correctly the printing option will be available, displayed by a printer-icon. This will be available in all the locations where label(s) and document(s) are available for download.
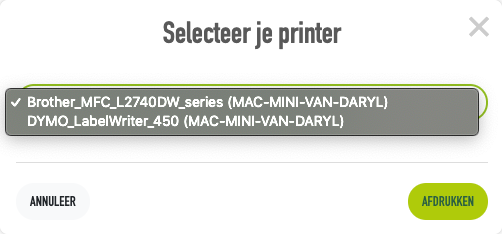
Printing without default printer
Upon clicking the printer icon without having a default printer a pop-up will be displayed where you can select the printer for the print job. When having selected a printer and confirming the print job by clicking 'Afdrukken' the print job will be directly sent to the printer.
Printing with default printer
Upon clicking the printer icon having a default printer the print job will be directly sent towards the default printer.